The Magic Butter Machine is a revolutionary countertop botanical extractor designed to infuse herbs into butter, oils, and tinctures effortlessly. Its automated process ensures precise temperature control and stirring, making it perfect for creating herbal infusions at home. With preset cycles for butter, oil, and tincture, it simplifies the extraction process while maintaining potency and flavor. This innovative device is a must-have for both culinary enthusiasts and wellness seekers, offering a user-friendly solution for crafting customized herbal products.
Overview of the Magic Butter Machine
The Magic Butter Machine is a countertop botanical extractor designed to simplify the process of infusing herbs into butter, oils, and tinctures. It features preset cycles for butter (2 hours), oil (1 hour), and tincture (4 or 8 hours), ensuring consistent results. The machine automatically heats and stirs ingredients at precise temperatures, eliminating manual effort. Its compact design and user-friendly interface make it accessible for both beginners and experienced users. With the ability to customize temperature and time settings, it offers flexibility for experimenting with various herbal combinations. The machine is a versatile tool for culinary and wellness applications, providing a convenient way to create infused products at home.
Importance of Following Instructions
Following the instructions for the Magic Butter Machine is crucial for achieving optimal results and ensuring safety. The machine’s preset cycles for butter, oil, and tincture are designed to deliver consistent outcomes, and deviating from these guidelines can lead to poor-quality infusions or machine malfunctions. Proper temperature and time settings are essential for extracting the desired compounds from herbs effectively. Failure to follow instructions may result in uneven infusions, reduced potency, or even damage to the machine. Adhering to the provided directions ensures a seamless and efficient process, helping users achieve their desired results while maintaining the longevity of the device.
Preparation for Using the Magic Butter Machine
Begin by gathering all ingredients and supplies, such as herbs, butter, or oil. Familiarize yourself with the machine’s components, including the pitcher, lid, and filters, to ensure smooth operation.
Gathering Ingredients and Supplies
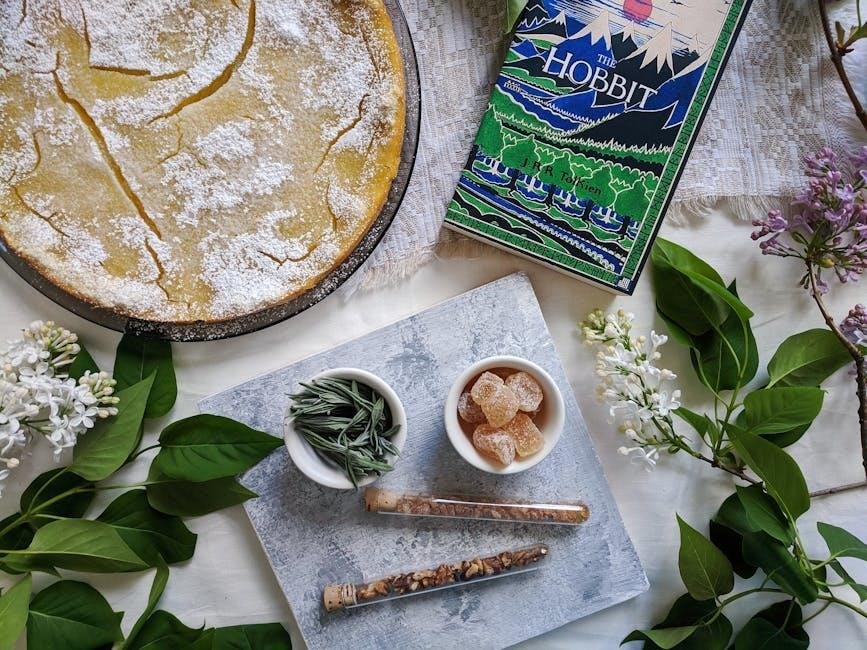
To begin, gather your desired herbs or botanicals, ensuring they are dry and properly prepared. Select a base ingredient, such as butter or oil, and have measuring tools ready. Include any additional flavorings or enhancers you wish to incorporate. Ensure you have the appropriate filters and accessories provided with the machine. Always refer to the official manual or website for specific ingredient ratios and supply recommendations to achieve optimal results. Using high-quality ingredients will enhance the final product’s flavor and potency;
Understanding the Machine Components
The Magic Butter Machine features a compact, user-friendly design with key components that ensure efficient operation. The main body houses the heating and stirring mechanisms, while the lid seals the chamber during processing. A digital interface allows easy temperature and cycle selection. The machine includes a stainless steel filter for straining liquids and a decarboxylation mode for activation. Additional accessories, such as measuring tools and cleaning supplies, are often provided. Familiarizing yourself with these components is essential for smooth operation and achieving desired results. Each part plays a critical role in the extraction and infusion process, ensuring consistency and quality in your final product.
Operating the Magic Butter Machine
The Magic Butter Machine features preset cycles for butter, oil, and tincture, with automated stirring and temperature control. Simply add ingredients, select your cycle, and let it process for consistent, potent results every time.
Step-by-Step Instructions for Butter Cycle
To begin the butter cycle, add your desired herbs and butter to the machine, ensuring the lid is securely closed. Set the temperature to 160°F and select the 2-hour butter cycle. The machine will automatically heat and stir the mixture for consistent infusion. Once the cycle completes, allow the mixture to cool slightly before filtering it into a storage container. This process ensures a smooth, flavorful, and potent herbal butter perfect for cooking or other uses. Always follow the machine’s guidelines for optimal results and safety.
Step-by-Step Instructions for Oil Cycle
To initiate the oil cycle, place your herbs and chosen oil into the Magic Butter Machine, securing the lid tightly. Set the temperature to 160°F and select the 1-hour oil cycle. The machine will automatically heat and stir the mixture, ensuring a thorough infusion; Once the cycle is complete, turn off the machine and let it cool slightly. Carefully pour the infused oil into a storage container, straining it through the provided filter to remove solids. This process creates a potent and flavorful herbal oil ideal for cooking, skincare, or wellness products. Follow the machine’s guidelines for best results.
Step-by-Step Instructions for Tincture Cycle
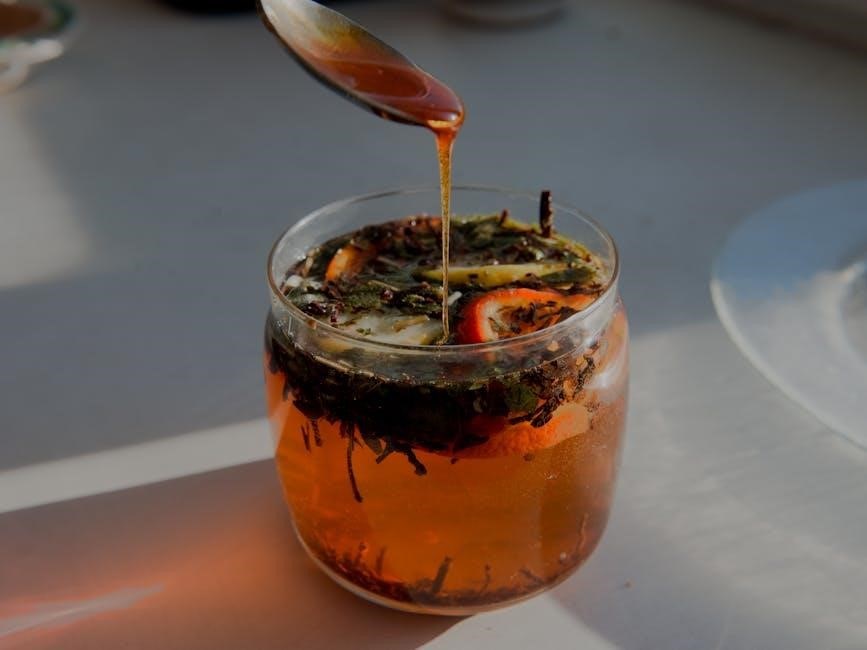
To begin the tincture cycle, add your herbs and solvent (such as alcohol) to the Magic Butter Machine, ensuring the lid is securely closed. Select the 4-hour or 8-hour tincture cycle depending on your desired potency. The machine will automatically heat and stir the mixture at precise temperatures for consistent extraction. Once the cycle completes, turn off the machine and allow it to cool slightly. Strain the tincture into a clean container using the provided filter to remove solids. Store the tincture in a dark glass bottle for later use in wellness products or recipes. Follow the machine’s guidelines for optimal results.
Customizing Your Experience
Experiment with temperature, time settings, and unique herb-oil combinations to tailor your infusions. Adjust cycles to enhance flavor and potency, ensuring personalized results every time.
Adjusting Temperature and Time Settings
Adjusting temperature and time settings on the Magic Butter Machine allows for customized infusions. Start with the default settings: 160°F for butter (2 hours) and 130°F for oil (1 hour). For tinctures, use 190°F (4-8 hours). Experiment with higher or lower temperatures to enhance potency or flavor. Longer cycles can increase extraction efficiency, while shorter times may preserve delicate compounds. Monitor results to find your ideal balance. The machine’s digital interface makes it easy to tweak settings, ensuring each batch meets your preferences. This flexibility empowers users to tailor their creations, whether for culinary or wellness purposes.
Exploring Different Herb and Oil Combinations
Exploring various herb and oil combinations with the Magic Butter Machine unlocks endless possibilities for unique flavors and wellness benefits. Popular herbs like cannabis, lavender, and basil pair well with coconut oil for butter or olive oil for tinctures. Experiment with strains and botanicals to tailor potency and aroma. The machine’s automation ensures consistent extraction, allowing you to focus on creativity. Mix herbs for blended profiles or test單一-herb infusions to identify favorites. This versatility makes it easy to craft customized products for cooking, skincare, or relaxation, enhancing both culinary and wellness experiences. The key is to experiment and find your perfect blend.
Maintenance and Cleaning
Regular cleaning ensures optimal performance. Use the Clean function with Magic Butter Cleaning Solution or dish soap. Rinse thoroughly, descale if using hard water, and dry completely to prevent water spots.
Proper Cleaning Techniques
Proper cleaning is essential for maintaining the Magic Butter Machine’s performance and longevity. After each use, run the Clean cycle with the official Magic Butter Cleaning Solution or a mild dish soap. Scrub the interior and exterior with a soft sponge, paying attention to the lid and gasket areas. Rinse thoroughly with warm water to remove any residue. For tougher buildup, soak the parts in warm soapy water before scrubbing. Avoid using abrasive cleaners or scouring pads, as they may damage the machine. Regular descaling is recommended if using hard water. Dry all components completely to prevent water spots and bacterial growth.
Maintenance Tips for Longevity
Regular maintenance ensures the Magic Butter Machine performs optimally and lasts longer. After cleaning, dry all parts thoroughly to prevent rust or mold. Store the machine in a cool, dry place, away from direct sunlight. Check and replace worn-out seals or gaskets periodically to maintain a tight lid seal. Descale the machine every 3-6 months if using hard water to prevent mineral buildup. Lubricate moving parts occasionally with food-safe oil to keep them functioning smoothly. Always follow the manufacturer’s guidelines for maintenance and updates. This care will ensure your Magic Butter Machine continues to deliver consistent results for years to come.

Troubleshooting Common Issues
Common issues include malfunctioning buttons, improper sealing, or temperature errors. Refer to the user manual or official support for solutions. Visit the FAQ for detailed guidance.
Addressing Machine Malfunctions
Malfunctions with the Magic Butter Machine can often be resolved by checking the power supply, ensuring proper lid sealing, and cleaning the buttons. If the machine fails to heat, verify the temperature settings and ensure no blockages in the heating element. For button issues, clean them with a soft cloth and ensure they are functioning correctly. If the machine stops mid-cycle, restart it and check for any error messages. Regularly cleaning the machine and descaling can prevent many issues. Refer to the official FAQ or user manual for detailed troubleshooting steps.
Resolving Common Errors
Common errors with the Magic Butter Machine can often be resolved by resetting the device. Turn the machine off, wait 30 seconds, and restart it. If an error message like “Err1” or “Err2” appears, check the user manual for specific solutions. Ensure the lid is properly sealed and the machine is on a level surface. Clean the unit regularly, especially the sensors and buttons, to prevent malfunction. For persistent issues, refer to the official support page or contact customer service. Always follow the manufacturer’s guidelines for troubleshooting to maintain optimal performance.
The Magic Butter Machine is a versatile and user-friendly device for crafting herbal infusions. With proper use and maintenance, it delivers consistent results, enhancing culinary and wellness routines. Explore recipes, adjust settings, and enjoy the convenience of homemade herbal products. For any issues, refer to the official support page or user manual for troubleshooting. Happy creating with your Magic Butter Machine!
Final Tips for Optimal Use
For the best results with your Magic Butter Machine, always follow the manufacturer’s guidelines and experiment within safe parameters. Regularly clean the machine to prevent residue buildup and maintain efficiency. Store your finished products in airtight containers to preserve potency and flavor. Explore various herb-to-oil ratios and temperature settings to customize your infusions. Keep the machine on a stable, heat-resistant surface during operation. For troubleshooting, refer to the official support page or user manual. Finally, store the machine in a dry place when not in use to ensure longevity. Happy infusing!