Welcome to the Horizon T101 Treadmill Owner’s Manual. This guide provides essential information for safe operation, assembly, and maintenance. Explore features, troubleshooting, and warranty details.
Product Overview
The Horizon T101 Treadmill is a versatile and durable fitness machine designed for home use. It features a sturdy frame, a spacious running surface, and a cushioned deck for comfort. The treadmill offers a speed range of 0.5 to 10 MPH and adjustable incline settings to customize workouts. With a user-friendly control panel, it provides pre-set programs like manual, interval, and step-based workouts. The foldable design allows easy storage, making it ideal for small spaces. Built-in heart rate monitoring and compatibility with third-party apps enhance its functionality. Whether for walking, jogging, or intense training, the T101 delivers a reliable and efficient workout experience for users of all fitness levels.
Key Features
The Horizon T101 Treadmill boasts a range of features designed to enhance your workout experience. It includes 10 pre-set programs, such as manual, interval, and step-based workouts, allowing users to personalize their routines. The treadmill offers a speed range of 0.5 to 10 MPH and adjustable incline settings for varied training. A cushioned deck provides comfort and reduces impact on joints. The foldable design enables easy storage, while the built-in heart rate monitoring system helps track fitness progress. Additionally, the T101 is compatible with third-party apps for syncing workouts, and it features USB and audio capabilities for convenient connectivity; These features make the T101 a versatile and user-friendly choice for home fitness enthusiasts.
Safety Information
Before using the Horizon T101 Treadmill, read this manual carefully to ensure safe operation. Always follow safety precautions to avoid accidents. Ensure the running belt is centered and properly aligned for smooth operation. Avoid overreaching or wearing loose clothing that could get caught in moving parts. Keep children and pets away while the treadmill is in use. Regularly inspect the treadmill for wear and tear, and perform maintenance as recommended; Never modify the equipment or use it for purposes other than intended. If you experience any discomfort or pain, stop the workout immediately. Consult a healthcare professional before starting a new exercise program. Proper usage and adherence to safety guidelines will ensure a safe and effective workout experience.

Assembly and Installation
Proper assembly and installation are crucial for safe and effective use. Follow the step-by-step guide in the manual to ensure all parts are securely fastened and aligned correctly.
Unpacking the Treadmill
When you receive your Horizon T101 treadmill, carefully unpack all components. Check for any damage or missing parts. The package includes the treadmill frame, walking belt, console, hardware, and instructions. Ensure the delivery is complete by cross-referencing with the packing list provided. Handle the electronic components with care to avoid damage. Place all parts in a clear, flat area for easy access during assembly. Keep the original packaging materials for future reference or potential returns. Before proceeding with assembly, review the manual to familiarize yourself with each part and its purpose. This will streamline the installation process and ensure everything fits together correctly.
Hardware Requirements
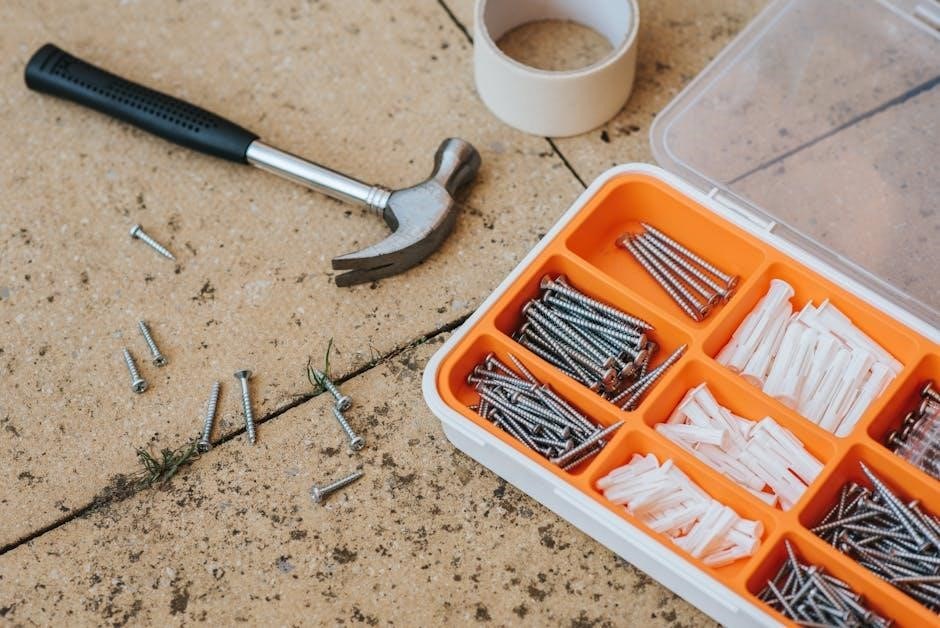
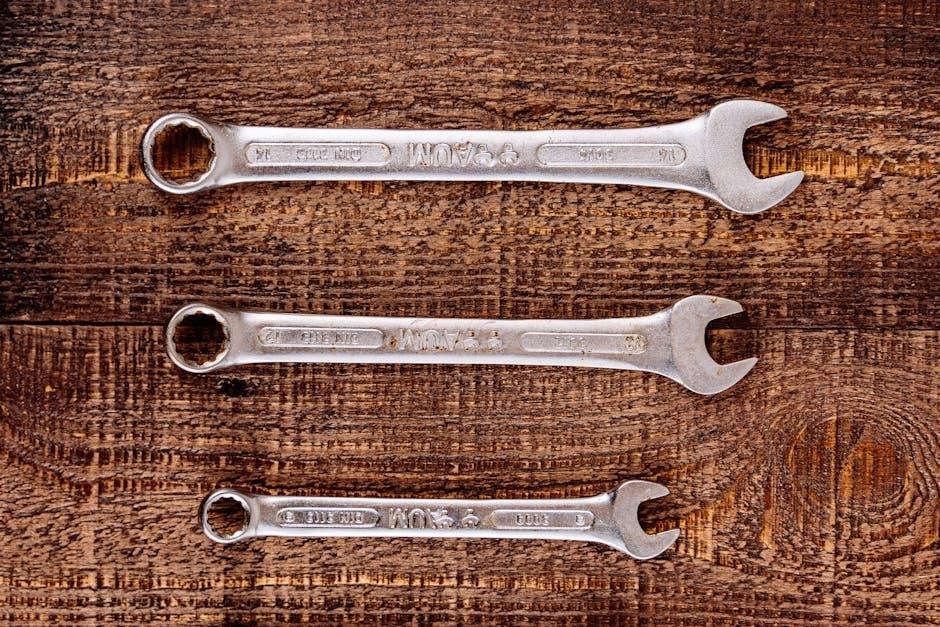
The Horizon T101 treadmill comes with all necessary hardware for assembly. Ensure you have a wrench, screwdriver, and Allen key for installation. The package includes bolts, screws, and washers specifically designed for the treadmill. Verify all components are included before starting. Additional tools like a rubber mallet may be helpful for aligning parts. Make sure the power source meets the treadmill’s specifications (120V, 60Hz). Familiarize yourself with the hardware to avoid mismatches during assembly. Properly tighten all bolts to ensure stability and safety. Refer to the exploded diagram in the manual for clarification on hardware placement and usage. Double-check that all parts are securely fastened before first use. This ensures optimal performance and reduces the risk of mechanical issues. Always follow the manufacturer’s hardware recommendations for warranty validity.
Step-by-Step Assembly Instructions
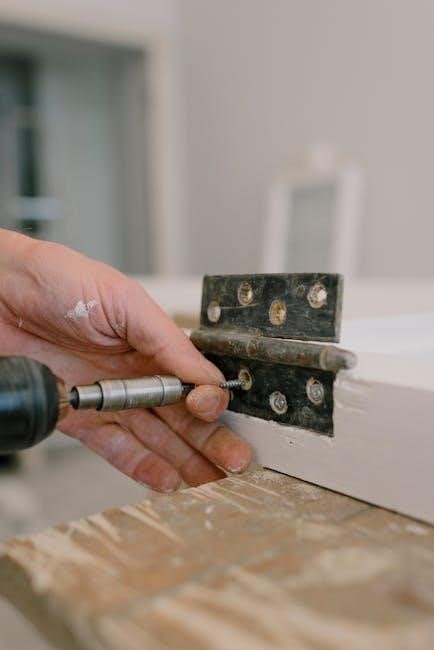
Begin by unpacking and organizing all components. Place the treadmill frame on a flat, stable surface. Attach the console to the frame using the provided bolts, ensuring it is securely fastened. Next, install the handlebars by aligning the pre-drilled holes and tightening the screws firmly. Now, attach the walking belt by looping it around the rollers and securing it with the tension bolts. Tighten the belt evenly to avoid misalignment. Finally, assemble any additional accessories, such as cup holders or trays, using the hardware provided. Refer to the exploded diagram in the manual for visual guidance. Double-check all connections and ensure bolts are tightened properly before first use. If unsure, consult the manual or contact customer support for assistance. Proper assembly is crucial for safety and performance. Always follow the manufacturer’s instructions to avoid damage or injury.
Installation Tips
Place the treadmill on a flat, stable surface in a spacious area, ensuring 2-3 feet of clearance around it. Use a power surge protector to safeguard the motor. Avoid carpeted floors to prevent dust buildup and ensure proper belt tracking. Before powering on, double-check all connections and ensure the running belt is centered and securely fastened. Lubricate the belt as recommended to maintain smooth operation. If installing in a shared space, consider using a treadmill mat to reduce noise and vibration. Update the firmware using a USB drive for the latest features and performance. After installation, perform a test walk to ensure everything functions correctly. Always refer to the manual for specific guidelines and contact customer support if you encounter any issues during setup. Proper installation ensures safety and optimal performance.

Operating the Treadmill
Mastering the Horizon T101’s operations involves starting the treadmill, adjusting speed and incline, monitoring heart rate, and using pre-set programs or custom routines for effective workouts.
Control Panel Overview
The Horizon T101’s control panel is user-friendly, featuring a clear LCD display. It includes buttons for starting and stopping the treadmill, adjusting speed and incline, and selecting preset programs. The panel also has a heart rate monitor and USB ports for charging devices. Use the arrows to increase or decrease settings, and the quick-select buttons for convenient adjustments. The display shows time, distance, calories, and heart rate, ensuring you stay informed during your workout. Familiarize yourself with each function to optimize your exercise experience.
Starting and Stopping the Treadmill
To start the Horizon T101, ensure the safety key is inserted and clipped to your clothing. Press the “Start” button, and the treadmill will begin at a slow speed. Use the speed and incline controls to adjust settings during your workout. To stop, press the “Stop” button or pull the safety key. The treadmill will gradually decelerate to a complete stop. Always allow the belt to come to a full stop before dismounting. For emergency situations, pull the safety key or press the red “Emergency Stop” button to halt the treadmill immediately. Follow these steps to ensure safe and smooth operation.
Adjusting Speed and Incline
To adjust the speed and incline on the Horizon T101, use the controls on the console. Press the speed buttons to increase or decrease the belt’s pace. For incline, press the corresponding up or down arrows. You can also preset your workout by selecting a time, starting speed, and incline. The treadmill features manual controls, allowing you to customize your exercise in real-time. Additionally, the “STEPS” program offers 10 step-based workouts, with options for 1,000 to 10,000 steps. The treadmill calculates strides using an average stride length. Always ensure the belt is centered and properly aligned before making adjustments for optimal performance and safety.
Emergency Stop Procedures
The Horizon T101 treadmill is equipped with an emergency stop system for user safety. To activate the emergency stop, press the red emergency stop button located on the console. This will immediately bring the treadmill to a complete stop. Additionally, the safety key must be attached to your clothing during use. If you move too far from the console or experience an issue, the key will pull out, stopping the treadmill automatically. Always ensure the emergency stop features are functional before starting your workout; After an emergency stop, turn off the treadmill, wait 30 seconds, and restart if needed. Never ignore these safety mechanisms to avoid accidents.

Pre-Set Programs and Custom Workouts
The Horizon T101 offers various pre-set programs, including manual, interval, and step-based workouts. Users can create custom routines, save favorites, and sync with third-party apps for personalized fitness goals.
Types of Pre-Set Programs
The Horizon T101 treadmill features a variety of pre-set programs designed to cater to different fitness goals. These include manual mode, interval training, and step-based workouts. Manual mode allows users to adjust speed and incline settings during their workout. Interval training provides alternating periods of high-intensity and low-intensity exercise for effective calorie burn; Step-based programs offer workouts with specific step targets, such as 1,000 to 10,000 steps, promoting consistent activity. Additionally, there are pre-set programs focused on calorie burn and distance-based goals. These programs are designed to keep workouts engaging and help users achieve their fitness objectives efficiently. The variety ensures a tailored experience for all fitness levels.
Creating Custom Workout Routines
The Horizon T101 treadmill allows users to create personalized workout routines tailored to their fitness goals. Users can manually set time, starting speed, and incline, adjusting these settings during the workout for a customized experience. The treadmill also supports step-based workouts, where users can choose from 1,000 to 10,000 steps, with the treadmill calculating the workout based on average stride length. This feature promotes consistent activity and helps users track their progress. By combining manual adjustments with pre-set step goals, users can design routines that suit their preferences and fitness levels. This flexibility ensures engaging and effective workouts, making the T101 a versatile option for home exercise.
Saving Favorite Workouts
The Horizon T101 treadmill enables users to save their favorite workout routines for quick access in the future. After creating a custom workout, simply navigate to the “Save” option on the control panel and follow the prompts to store your preferences. This feature allows you to maintain consistency in your training and avoid recalibrating settings for repeated workouts. Saved routines are easily retrievable, making it convenient to stick to your fitness plan. This functionality enhances user experience by streamlining workout sessions and ensuring efficiency. By saving favorite workouts, users can focus on their goals without interruption, making the T101 a practical choice for home exercise. This feature is designed to support long-term fitness journeys.
Syncing Workouts with Third-Party Apps
The Horizon T101 treadmill supports syncing workouts with popular third-party fitness apps, allowing users to track progress and set goals seamlessly. To connect, download the compatible app, enable Bluetooth on the treadmill, and follow in-app pairing instructions. Once synced, workouts are automatically uploaded, providing detailed insights into performance metrics. This integration enhances motivation by allowing users to compete with others or join challenges. Syncing also enables access to a wider range of training programs and personalized recommendations. Ensure your device and treadmill software are up-to-date for optimal compatibility. This feature makes tracking fitness journeys effortless and engaging, helping users stay committed to their health goals. Regular updates may expand app compatibility further.

Maintenance and Troubleshooting
Maintenance and troubleshooting ensure optimal performance. Regularly clean and lubricate the treadmill belt, check alignment, and update firmware. Address common issues promptly to prevent machine downtime effectively.
Cleaning and Lubrication
Regular cleaning and lubrication are crucial for maintaining your Horizon T101 treadmill. Start by turning off and unplugging the machine. Use a soft cloth to wipe down the frame, handles, and console. For the running belt, remove dust and dirt with a clean, dry cloth. Lubricate the deck periodically using silicone-based lubricant to ensure smooth operation. Apply the lubricant evenly across the deck, then run the belt at a slow speed to distribute it. Proper alignment of the belt is also essential; adjust if it drifts to one side. After cleaning, allow the treadmill to dry completely before use to prevent moisture damage. Regular maintenance extends the lifespan and performance of your treadmill.
Belt Alignment and Tracking
Proper belt alignment and tracking are essential for optimal performance and longevity of your Horizon T101 treadmill. Start by ensuring the running belt is centered. If misaligned, adjust the rear roller bolts clockwise or counterclockwise to realign the belt. Tighten the bolts evenly after adjustment. Regularly inspect the belt for wear and tear. To maintain proper tracking, walk on the treadmill at a slow speed and observe the belt’s position. If it drifts, repeat the alignment process. Use silicone-based lubricant on the deck to reduce friction and prevent misalignment. Always refer to the manual for specific adjustment instructions. Proper belt alignment ensures smooth workouts and prevents premature wear on the machine.
Updating Firmware
To ensure your Horizon T101 treadmill operates with the latest features and bug fixes, regular firmware updates are essential. Download the update file from the Horizon Fitness website and save it to a USB drive. Insert the USB into the treadmill’s console port. Follow the on-screen instructions to initiate the update process. Do not power off the treadmill during the update, as this may cause system corruption. Once the update is complete, restart the treadmill to apply the changes. Always refer to the user manual for specific instructions, as the process may vary slightly depending on the model year or firmware version. Keeping your treadmill updated ensures optimal performance and compatibility with third-party apps.
Common Issues and Solutions
If the treadmill belt is misaligned, adjust the alignment screws located under the walking deck. For power issues, ensure the treadmill is plugged into a dedicated 120V circuit and check the circuit breaker. If the console display is unresponsive, restart the treadmill by unplugging it for 30 seconds and plugging it back in. For error codes, refer to the troubleshooting section in the manual. If the incline motor is noisy, lubricate it with silicone-based spray. If problems persist, contact Horizon Fitness customer support for assistance. Always follow safety guidelines and ensure the treadmill is properly maintained to prevent issues.
Resetting to Factory Settings
To reset the Horizon T101 treadmill to factory settings, navigate to the console menu by pressing and holding the “Program” and “Start” buttons simultaneously for 5 seconds. Use the arrow keys to scroll to “Settings” and select “Factory Reset.” Confirm the action by pressing “Enter.” This will restore all settings to their default values. Note that this process will erase any custom workout profiles or saved preferences. If issues persist after a factory reset, ensure the treadmill is updated with the latest firmware, which can be installed via a USB drive. Always refer to the manual for detailed instructions to avoid unintended consequences. Resetting is a useful troubleshooting step for resolving software-related issues.

Warranty and Support
The Horizon T101 treadmill is covered by a one-year limited warranty. For support, contact customer service via the provided contact form or email. Online resources and repair options are also available.
Warranty Coverage
The Horizon T101 treadmill is backed by a one-year limited warranty, covering defects in materials and workmanship. This warranty ensures that any faulty parts or issues arising from manufacturing are addressed promptly. It is essential to note that the warranty applies to the original purchaser and is non-transferable. Proper registration and adherence to maintenance guidelines are required to maintain warranty validity. For detailed terms and conditions, refer to the warranty section in the owner’s manual. Understanding the coverage helps maximize protection and ensures a hassle-free ownership experience. Always retain your purchase receipt as proof of warranty eligibility.
Contacting Customer Support
For any inquiries or issues with your Horizon T101 treadmill, contact our customer support team through the official website or the provided contact form. Support agents are available to assist with troubleshooting, repair requests, or general questions. Ensure you have your treadmill model number (T101) and purchase date ready for faster service. Additionally, refer to the online resources and FAQs for quick solutions to common problems. If further assistance is needed, support can be reached via phone or email during business hours. Please note that responses may take 24-48 hours, depending on the volume of inquiries. For immediate help, explore the downloadable user manual or troubleshooting guides available on the Horizon Fitness website.

Online Resources
The Horizon Fitness website offers extensive online resources to support your T101 treadmill experience. Download the official Horizon T101 Owner’s Manual in PDF format for detailed instructions and troubleshooting guides. Explore the FAQ section for answers to common questions about assembly, operation, and maintenance. Additionally, video tutorials and user forums are available to address specific concerns and share tips. Visit the Horizon Fitness Support Page to access these resources directly. For firmware updates and software improvements, refer to the downloads section. These online tools ensure you maximize your treadmill’s performance and resolve issues efficiently.
Repair and Replacement Options
Horizon Fitness offers comprehensive repair and replacement options to ensure your T101 treadmill remains in optimal condition. For defective or damaged parts, contact the Horizon Fitness customer support team through their official website or phone. Repairs under warranty are free of charge, while out-of-warranty issues may incur costs. To initiate the process, provide your treadmill’s model number and a detailed description of the issue. Replacement parts can be ordered directly from Horizon Fitness or authorized retailers. Visit the Horizon Fitness Support Page for more information. Always refer to the owner’s manual for troubleshooting guidance before seeking professional repair.

Additional Features
The Horizon T101 treadmill includes heart rate monitoring, USB ports for charging, built-in speakers, and folding design for space-saving storage. Accessories like a water bottle holder enhance convenience.
Heart Rate Monitoring
The Horizon T101 treadmill features built-in heart rate monitoring, allowing users to track their cardiovascular progress during workouts. The system uses handgrip sensors located on the handlebars, providing real-time data that appears on the control panel. This feature helps users stay within their target heart rate zones, optimizing exercise efficiency and safety. For accurate readings, ensure hands are placed firmly on the sensors and remain stationary. The treadmill also supports chest strap compatibility for more precise monitoring. Regular heart rate tracking can help users set fitness goals and monitor improvements over time. Always consult a healthcare professional before starting new exercise routines.
USB and Audio Features
The Horizon T101 treadmill is equipped with convenient USB and audio features to enhance your workout experience. The built-in USB port allows you to charge your devices, keeping them powered during extended sessions. Additionally, the treadmill features a 3.5mm audio jack and high-quality speakers, enabling you to stream music or podcasts from your phone or tablet. Bluetooth connectivity is also available, ensuring seamless pairing with compatible devices. These features make your workouts more enjoyable and motivating. For optimal sound quality, ensure your device is properly connected and adjust the volume as needed. Always use original cables for charging to maintain safety and performance.
Folding and Storage
The Horizon T101 treadmill is designed with a space-saving foldable frame, making it ideal for home use. To fold, simply lift the deck using the hydraulic system, which ensures smooth and safe lifting. Once folded, the treadmill occupies minimal space, perfect for storing in a corner or against a wall. The soft-drop mechanism allows you to lower the deck gently to the floor when unfolding. For added convenience, the treadmill is equipped with transport wheels, enabling easy movement from one location to another. Regularly cleaning the treadmill before storage will help maintain its appearance and functionality. Always ensure the treadmill is completely folded and secure before storing it in a dry, cool environment.

Accessories
The Horizon T101 treadmill supports various accessories to enhance your workout experience. A USB port allows you to charge devices or store workout data on a flash drive. Compatible headphones can be connected for immersive audio during exercise. Additional accessories, such as a water bottle holder and cleaning kit, are available to maintain convenience and hygiene. For safety, consider using the provided emergency stop clip. Optional heart rate monitors can be purchased separately for advanced tracking. Always ensure accessories are compatible with your treadmill model. Visit the official Horizon Fitness website or authorized retailers for genuine parts and accessories tailored to the T101 treadmill.

The Horizon T101 treadmill offers a versatile and durable workout solution for home use. Follow the manual for optimal performance and safety. Enjoy your fitness journey!
Final Tips
To maximize your experience with the Horizon T101 treadmill, ensure regular maintenance and proper usage. Always refer to the manual for troubleshooting and updates. For optimal performance, keep the belt clean and well-lubricated. Explore pre-set programs to diversify your workouts and track progress. Utilize heart rate monitoring for tailored exercises. Fold the treadmill correctly for storage. Charge devices via USB ports during sessions. Stay hydrated and listen to your body to avoid overexertion. Familiarize yourself with emergency stop procedures for safety. Experiment with custom routines and sync with apps for a personalized fitness journey. Regularly check for firmware updates to enhance functionality. Happy training!
Encouragement to Use the Treadmill
Consistency is key to achieving your fitness goals with the Horizon T101 treadmill. Regular use can improve cardiovascular health, boost endurance, and help with weight management. Make workouts enjoyable by exploring pre-set programs or creating custom routines. Use heart rate monitoring to stay in your target zone and maximize calorie burn. Take advantage of USB and audio features to keep your sessions engaging. Fold and store the treadmill easily to save space when not in use. Remember, every session brings you closer to your goals—celebrate small victories and stay committed to your fitness journey. Happy training!